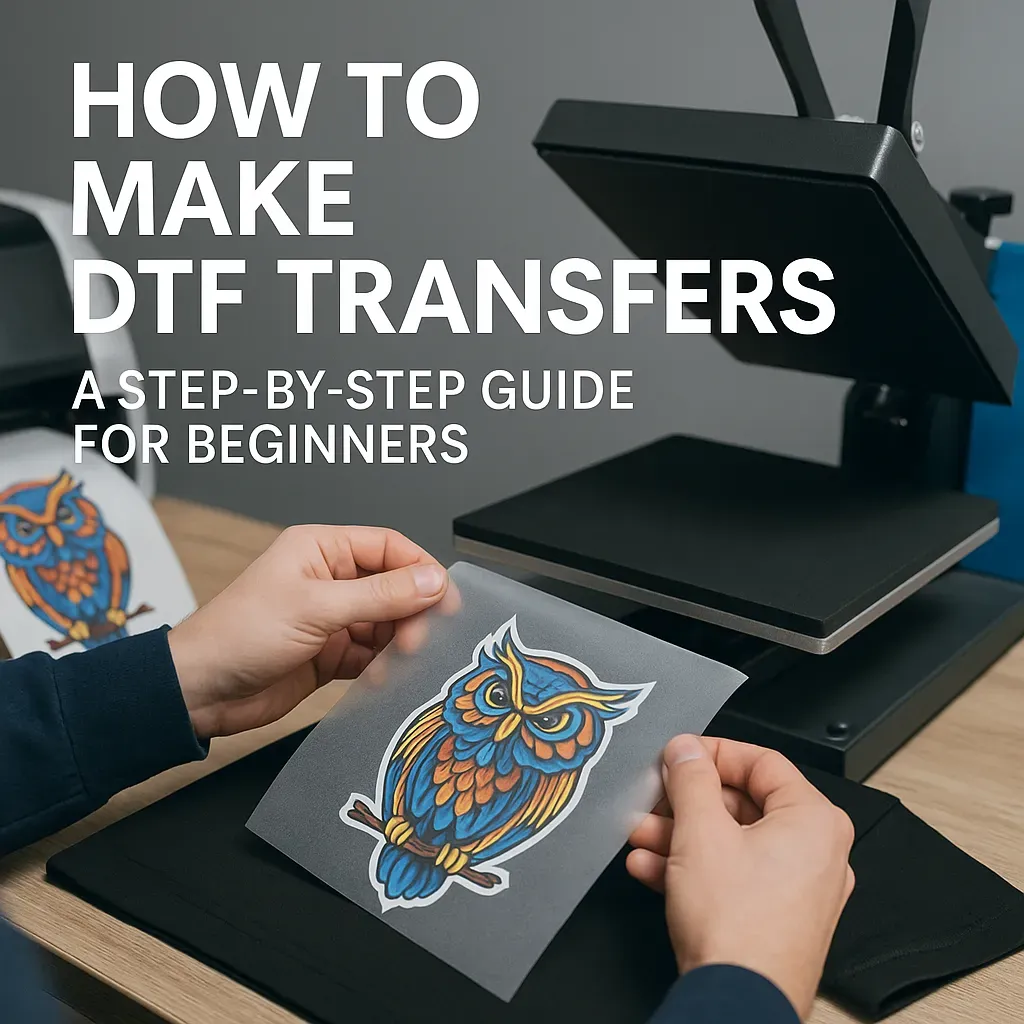
DTF Transfers for Beginners provides a practical, friendly entry point into garment decoration. This starter guide translates Direct-to-Film printing from concept to delivery, helping you see the full workflow. You’ll learn how DTF transfers work, with clear explanations of design prep, film printing, powder curing, and heat pressing. Along the way, you’ll encounter DTF printing for beginners tips, DTF design tips, and practical guidance on DTF heat press temperature and troubleshooting. By focusing on reliable materials, consistent temperatures, and precise timing, you can produce durable, vibrant transfers across fabrics.
In plain terms, this beginner-friendly, film-based transfer method—often described as direct-to-film decoration—lets artwork printed on a special sheet bond securely to fabrics. The approach centers on prep work, color management, and a reliable heat-press sequence to ensure durable adhesion and vibrant results. Think of it as a print-on-film workflow that uses adhesive powder and curing steps, rather than only direct-to-garment printing. By adopting LSI-friendly terms such as film transfer for textiles, color calibration, and temperature guidelines, you can communicate the concept clearly to hobbyists and small shops. Mastering these ideas early helps you refine your SOPs and confidently scale your projects.
DTF Transfers for Beginners: From Design to Delivery
DTF Transfers for Beginners introduces a practical path from concept to finished garment, emphasizing a workflow that new users can master. By understanding the full cycle—from design prep to film printing, adhesive powder application, curing, and final transfer—you gain a reliable blueprint for consistent results. This approach aligns with the broader topic of DTF printing for beginners, helping newcomers grasp where to start and how each step supports color fidelity and durability across fabrics.
A solid beginner’s pipeline also underscores how DTF transfers work in practice: choose high-contrast artwork, select the right film and powder, and follow a controlled heat-press routine to ensure the design sticks, looks vibrant, and lasts. By framing the project as a delivery-ready process—design, print, powder, cure, transfer, and post-press checks—beginner operators can stay organized, reduce errors, and scale their efforts as orders grow.
DTF Printing for Beginners: From Design to Delivery Essentials
For new makers, the journey begins with design prep and file readiness. Clear vector art or high-resolution raster images, properly exported with embedded color profiles, help ensure your printed colors map accurately to the final transfer. This emphasis on DTF printing for beginners invites you to work with 300 DPI minimum for photos and to keep bleed and margins in mind so edges don’t appear misaligned after transfer.
Next comes the practical print workflow: loading DTF film, selecting the correct white or color passes, and applying adhesive powder evenly. The curing step is crucial to lock the powder into place, creating a robust transfer layer. When you press the garment, maintaining consistent temperature, pressure, and time matters as much as the ink, film, and powder combination you’ve chosen.
DTF Design Tips to Improve Color, Clarity, and Durability
DTF design tips focus on simplifying art for reliable transfers. Start with bold outlines, high-contrast color blocks, and clean vectors for logos and text. Simple compositions reduce misregistration and help your colors stay crisp after printing and pressing. Ensuring your files are print-ready, with correct bleed and embedded profiles, makes the transition from screen to film smoother.
Planning for white and dark fabrics is another core tip. White ink and powder layers often determine the final brightness on dark garments, so design with white in mind and consider how your colors will transform through the transfer process. Keeping text legible at the target size and using appropriate font choices further improves readability on finished shirts or totes, especially when viewed from a distance.
DTF Heat Press Temperature and Timing: Achieving Consistent Results
Mastering DTF heat press temperature is essential for durable transfers. Typical ranges fall around 150–170°C (300–340°F) with press times of 15–30 seconds, but always consult your equipment guidelines and fabric recommendations. Fine-tuning these figures helps ensure proper adhesion of the adhesive layer without scorching the fabric or fading colors.
In addition to temperature and time, pressure consistency and pre-press technique affect outcomes. Pre-pressing removes moisture and relaxes fibers, which reduces wrinkling and improves contact with the film. The exact settings may vary by fabric type, garment, and even ink brand, so perform small tests on sample fabrics to establish your go-to DTF heat press temperature and timing before running larger batches.
DTF Transfer Troubleshooting: Common Issues and Quick Fixes
DTF transfer troubleshooting often centers on three recurring problems: color mismatch, adhesion failures, and edge lifting. A systematic approach includes validating color management with soft proofs, printing test swatches, and calibrating the printer to align with your CMYK path. Regular testing helps you anticipate shifts in hue and saturation before committing to a full run.
When adhesion falters, verify curing duration and powder distribution, and ensure the garment is pre-pressed to remove moisture. Edge lifting may indicate improper temperature, time, or pressure, or misalignment of the film. If coverage on dark fabrics isn’t right, reassess white ink passes and powder adhesion, and consider trying a different brand of white ink or powder. Documenting fixes as part of a standard operating procedure (SOP) helps you build a repeatable troubleshooting routine.
Frequently Asked Questions
DTF Transfers for Beginners: How do DTF transfers work and what should a newcomer know about the process?
DTF transfers stand for Direct-to-Film. The basic workflow is: print artwork onto a special film (CMYK, with optional white), apply adhesive powder, cure it, place the film on the garment, and press to transfer the design. Beginners should focus on proper powder distribution, accurate temperature and time, and a thorough post-press check for durability. Typical starting heat press settings are around 150–170°C (300–340°F) for 15–30 seconds, with steady pressure.
DTF printing for beginners: What are the essential design steps to ensure vibrant, durable transfers?
For DTF printing for beginners, start with clean, high-contrast artwork. Use vector formats for logos (AI, EPS, SVG) and export raster images at 300 DPI. Include a transparent background where needed and plan 2–3 mm bleeds to avoid gaps. Manage color by soft proofing and printing test swatches before a full run. Save print-ready files (PDF or TIFF) with embedded color profiles.
DTF heat press temperature: What are safe starting settings and how do you validate them for beginners?
Begin with a conservative starting point: 150–170°C (300–340°F) for 15–30 seconds, with even, firm pressure. Pre-press the garment to remove moisture, then apply the transfer. Always run test pieces or swatches to confirm adhesion and finish, adjusting temperature, time, or pressure as needed for different fabrics.
DTF design tips: Which practical tips help beginners avoid common mistakes in transfers?
DTF design tips include using high-contrast art, adding appropriate bleeds and margins, planning for the white underlay on dark fabrics, and keeping text legible at transfer size. Export to print-ready formats (PDF/TIFF) with embedded color profiles and create a small library of color swatches and test designs to verify color accuracy.
DTF transfer troubleshooting: What are the top beginner issues and how can you fix them quickly?
Common issues include color mismatch, incomplete adhesion, edge lifting, and white coverage gaps on dark fabrics. Fixes include soft-proofing and test swatches, ensuring proper curing and even powder distribution, pre-pressing garments, validating film alignment, and adjusting heat press temperature/time for the fabric and film brand.
| Topic | Key Points |
|---|---|
| Introduction (Why DTF Transfers for Beginners?) | Flexible, cost-effective textile decoration; beginner-friendly approach; core idea: design smart, prep properly, print accurately, and press with the right settings for a durable finish. |
| What is DTF, and how DTF transfers work | DTF stands for Direct-to-Film. Artwork is printed on film using CMYK (+ optional white); adhesive powder applied and cured; film placed on garment; heat press transfers adhesive; film peeled away, leaving bonded design. Tolerant of various fabrics; durable results with proper setup. |
| DTF printing for beginners: design, color, and file prep | Start with clean vector or high-resolution art. Use AI/EPS/SVG for logos; export raster at least 300 DPI for photos; ensure transparency where needed; include bleed space for transfer movement. |
| Color management and workflow basics | Work RGB on screen; CMYK print path; soft proofing to anticipate hue shifts; print test swatches before full run. |
| Materials and equipment you’ll need | DTF printer (4-color plus white) or suitable inks; DTF film; adhesive powder; curing equipment; heat press; garments; test fabrics to learn behavior. |
| Design tips for beginners | – Start with clean, high-contrast art. – Use bleeds and margins (2–3 mm). – Plan for white and dark fabrics (white layer for darks). – Keep text legible at transfer size. – Prepare print-ready files (PDF/TIFF) with embedded color profiles and proper resolution. |
| Color and layer considerations | Multiple ink layers require calibration. Print color swatches; check white ink on light vs dark backgrounds; adjust for brightness as needed. |
| Production steps: workflow | 1) Prepare artwork (size, bleed, color settings; outline text). 2) Print on DTF film; verify alignment with a test page. 3) Apply adhesive powder evenly. 4) Cure the powder. 5) Pre-press the garment. 6) Transfer to fabric at recommended temp/time. 7) Remove the film (peel guidance). 8) Post-press finishing if needed. 9) Quality control and cure checks; adjust for future runs. |
| Delivery and quality control | Establish a QC checklist: color match to proof, correct garment/color, seams free of blind spots, even adhesion. Use SOPs for consistency; good packaging and care instructions to extend life. |
| Troubleshooting common issues | Color mismatch: recalibrate printer and test swatches; incomplete adhesion: verify curing and powder distribution; edge lifting/cracking: check heat press settings and alignment; white coverage issues: verify white ink pass and consider different white ink or powder. |
| Workflow optimization for beginners | Use templates for common sizes/print areas; consistent file naming/version control; maintain color swatch library; practice runs to refine technique; identify most error-prone steps and adjust SOP accordingly. |
| From theory to practice | Balanced design process, reliable materials, color management, and disciplined pressing yield durable, vibrant transfers across fabrics; build a repeatable workflow that scales with orders; gain confidence to experiment. |
Summary
DTF Transfers for Beginners offers a friendly entry point into modern garment decoration. Start with clear, high-contrast designs; choose reliable film, powder, and printer components; and practice your print-and-press routine with consistent settings. By combining thoughtful design with careful process control—print quality, powder adherence, precise heat pressing, and meticulous quality checks—you turn concepts into wearable art. With dedication to the basics of how DTF transfers work and a steady experimentation mindset, you’ll move beyond the starting line and create professional, durable results that reflect your style and brand.