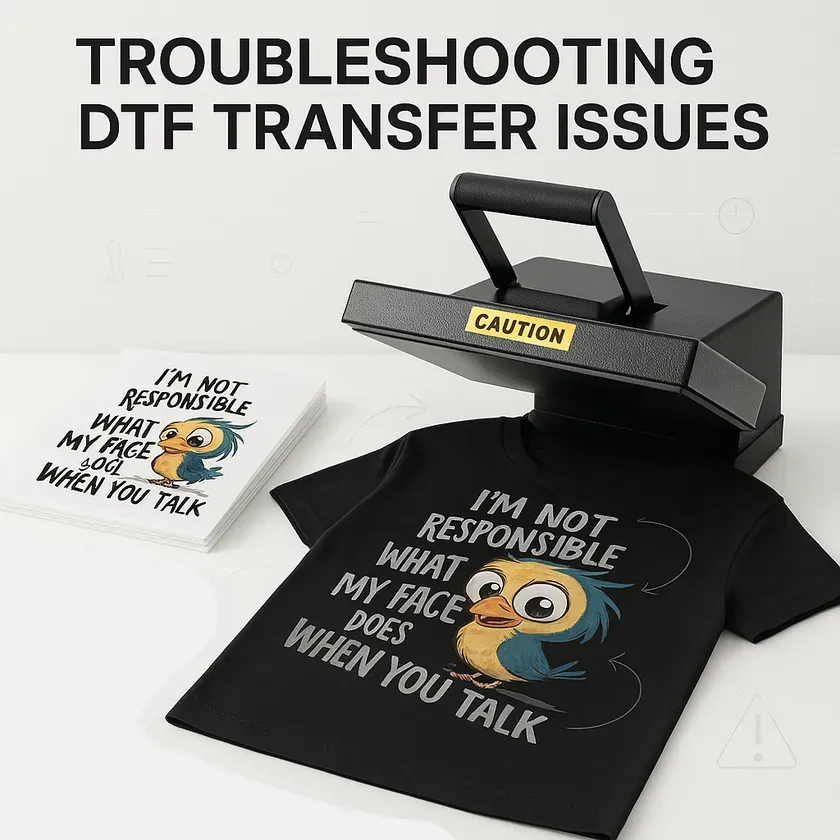
DTF transfers troubleshooting is essential for designers, printers, and shop owners aiming for consistent results. When you work with direct-to-film transfers, print quality, film handling, heat press settings, fabric type, and post-press care all influence the final appearance. This guide helps you diagnose common DTF transfer issues and apply quick, repeatable fixes. A structured approach keeps you focused on print fidelity, adhesion, and post-press performance, reducing misprints and peeling. By embracing a clear framework and referencing keywords such as ‘DTF transfer issues’, ‘DTF printing troubleshooting’, ‘DTF transfer problems’, and ‘how to fix DTF transfers’, you’ll improve consistency across batches and boost search visibility.
Beyond the core guide, you can approach the challenge through a broader lens of direct-to-film finishing workflows. In practice, frame the task with terms such as direct-to-film process troubleshooting, transfer adhesion issues, and film-to-fabric compatibility to leverage LSI-friendly concepts. You’ll want to examine how printer calibration, adhesive powder curing, and heat-press timing interact with fabric substrates to influence outcomes. Maintaining a log of results across different materials builds a library of tested profiles that speeds future production and minimizes downtime.
DTF transfers troubleshooting: diagnosing print quality and adhesion symptoms
DTF transfer issues frequently show up as misprints, color shifts, or ghosting. A design that looks sharp on screen can blur on film due to insufficient print resolution, unmanaged color profiles, or suboptimal halftone handling. Banding across the transfer is another clear sign that print quality needs attention. Recognizing these symptoms early helps you target the right part of the process.
To diagnose, start with a structured checklist that separates print quality, adhesion, and post-press behavior. Verify print resolution, ensure accurate color management, and inspect the film and adhesive powder for even application and complete curing. By mapping symptoms to print, transfer, or fabric factors, you can apply precise fixes rather than random adjustments.
DTF transfer issues and preventing peeling: optimizing adhesion and post-press care
Peeling or edge lift after washing is a common DTF transfer problem that undermines durability. Adhesion problems can stem from heat press settings, fabric prep, or inadequate cooling. Even with a clean print, if the transfer isn’t bonded properly, long-term performance suffers. Addressing adhesion requires checking both equipment and workflow steps.
Preventive actions include pre-washing fabrics to remove finishes, achieving consistent platen pressure, and using the recommended curing window for your film and powder. After pressing, allow sufficient cooling and handle the garment gently to avoid disturbing the bond. Implementing a routine focused on adhesion improves reliability across batches and reduces returns tied to poor wear performance.
How to fix DTF transfers: balancing powder, film, and substrate compatibility
Balancing the adhesive powder, film, and fabric substrate is central to reliable results. If powder remains on the surface, or if the film delaminates during application, you may need to tweak curing time, temperature, or powder weight. This section explores practical adjustments to create a stable, repeatable transfer process.
Fabric and substrate compatibility should drive profiling decisions. Maintain a library of tested fabric types with corresponding settings, and run swatches to confirm adhesion, color fidelity, and wash durability before scaling up production. Regular documentation helps reproduce success and quickly diagnose regressions when they occur.
DTF transfer problems: mastering heat press settings for durable results
Durable transfers depend on precise heat press parameters. Temperature, dwell time, and pressure must align with the film’s recommendations; too much heat or too long a dwell can distort details, while insufficient heat may prevent full bonding. Regularly verify the machine’s calibration and use a test strip to validate settings before running production batches.
Achieving even pressure is essential—ensure platen flatness, use a platen cover when appropriate, and consider rotating the garment to minimize pressure variation. Proper handling after pressing, including cooling and avoiding stretching, supports long-lasting adhesion and reduces the risk of cracking or edge lifting later on.
DTF printing troubleshooting for color fidelity: ensuring accurate prints on multiple fabrics
Color fidelity hinges on robust color management and device calibration. Use high-resolution artwork (ideally 300 DPI or higher), correct color profiles, and print tests on production media to verify that on-film results translate accurately to fabric. Addressing color shifts early helps prevent costly reprints and batch waste.
Develop fabric-specific color profiles and document each test’s outcomes. Maintain a log of printer settings, powder type, curing temperature/time, and heat-press pressure for every fabric type you serve. Comparative testing across fabrics helps you identify which profiles yield consistent vibrancy and wash-fastness, aligning production with customer expectations and SEO-friendly guidance.
Frequently Asked Questions
DTF transfers troubleshooting: what are the most common DTF transfer issues, and how can I diagnose them quickly?
Common DTF transfer issues include misprints or color shifts, poor adhesion/peeling, cracking after wash, ghosting, fading, excess white powder, and fabric compatibility problems. For quick diagnosis, categorize symptoms into print quality, adhesion, and post-press behavior; verify print resolution and color management; inspect the film and adhesive powder application and curing; check heat press temperature, time, and even pressure; ensure proper fabric prep and post-press care; and review film–powder compatibility and carrier sheets. Using a controlled test swatch on your production fabric helps distinguish print, transfer, or fabric causes and is a key step in DTF printing troubleshooting and DTF transfers troubleshooting.
How can I fix DTF transfers when you see misprints or color shifts?
Start with print settings and color management; reprint with a calibrated profile for the fabric and film; verify the printer’s DPI and halftone settings; ensure the adhesive powder is the right type and fully melted during curing; check carrier sheet handling and avoid powder overflow; run a test on the same fabric. This approach is part of how to fix DTF transfers and aligns with addressing DTF transfer issues and using DTF printing troubleshooting.
DTF transfer problems: what are the main causes of peeling or adhesion failures, and how do I fix them?
Peeling is usually due to inadequate powder curing, fabric finishes blocking adhesion, or uneven heat/pressure. Fixes include using the proper adhesive powder for your film, applying powder evenly, ensuring full cure, pre-washing or pre-treating problematic fabrics, and maintaining consistent press temperature, time, and pressure. Also verify the garment lies flat and stays stationary during transfer; this is a core aspect of resolving DTF transfer problems.
DTF transfer problems: what heat press settings and fabric prep tips help prevent adhesion and print issues?
Use manufacturer-recommended temperatures for your film (often around 160–170°C but follow your film’s spec), appropriate dwell time, and even pressure with a flat platen. Pre-wash fabrics to remove finishes that hinder bonding, and allow the garment to cool before handling after pressing. These practices reduce DTF transfer problems and align with general DTF printing troubleshooting guidelines.
How can I build a repeatable DTF transfers troubleshooting workflow for testing across fabrics?
Create standard test swatches for each fabric type, document print settings, powder type, curing temperature/time, and heat-press pressure for each test, and run controlled comparisons. Use a consistent testing environment with color blocks, gradients, and true black to evaluate color fidelity. This approach supports a reliable DTF transfers troubleshooting workflow and helps you quickly apply fixes like how to fix DTF transfers across batches.
| Aspect | Key Points |
|---|---|
| Introduction | DTF transfers troubleshooting is essential for designers, printers, and sellers of custom apparel, as many factors influence the final result (print quality, film and powder handling, heat press settings, fabric type, and post-press care). The guide aims to demystify the process and provide practical, step-by-step tips to diagnose and fix common issues. |
| What is a DTF transfer? | A DTF transfer starts with digitally printed film, adhesive powder, and a heat-press transfer to fabric. Variations in artwork, film quality, powder, fabric substrate, and press parameters affect the outcome. |
| Common issues | Misprints or color shifts; poor adhesion or peeling; cracking/peeling after washing; ghosting/double image; fading/dull print; excess white powder residue; fabric compatibility issues (especially blends or high-stretch fabrics). |
| Diagnosing root causes | Use a structured approach: categorize symptoms into print quality, adhesion, and post-press behavior; run diagnostic checks for each category. |
| Quick fixes & best practices | Print quality: high-res artwork (≥300 DPI), accurate color management, test prints on production media. Powder/cure: even powder, proper melting, correct curing window; avoid white residue. Heat press: correct temperature, dwell time, and even pressure. Fabric prep & post-press care: pre-wash fabrics, allow cooling, follow care instructions. Specific issues: recheck print settings for misprints; ensure pose flat garment during transfer; if cracking, adjust heat/pressure; for ghosting, adjust opacity and halftone. |
| Fabric & substrate considerations | Cotton, cotton blends, polyester blends, and performance fabrics react differently to heat and bonding. Maintain a library of fabric-specific profiles; create separate process files for different substrates. |
| Testing & validation | Create standard test swatches per fabric type; document print settings, powder type, curing temp/time, and pressure; use controlled environment for testing to reduce variability. |
| Common pitfalls to avoid | Rushing transfers; inconsistent pressure; incompatible materials; skipping pre-press prep. |
| Workflow summary | A structured diagnostic loop: start with print quality checks, verify film/powder handling, confirm heat press parameters, and evaluate fabric compatibility. Use controlled test swatches and document outcomes to shift from reactive fixes to proactive optimization. |
Summary
Conclusion: DTF transfers troubleshooting is an ongoing, iterative process of refining workflows, calibrating equipment, and understanding fabric behavior. By systematically addressing common issues with targeted fixes, you can reduce downtime, improve print quality, and deliver durable transfers that withstand washing and wear. Keep the focus on DTF transfers troubleshooting, while integrating related concepts like DTF transfer issues, DTF printing troubleshooting, DTF transfer problems, and how to fix DTF transfers to maintain SEO relevance and practical alignment with your content strategy.